In this activity, we will explore a virtual microscope that is very similar to the way a traditional microscope works. To prepare you to use the microscope in our lab classroom, you will learn the basics of light microscopy by working with this tutorial. You will identify components of the microscope, understand the functions of those components, learn how to focus on a specimen, and review proper care and maintenance.
Please note: You will be doing a few sketches for this worksheet. There are a few options for doing this:
- You can draw them on paper, scan them, and insert them as images into the worksheet
- You can draw them in some other digital tool (Procreate, MS Paint, etc.), and then insert them into the worksheet.
- It is also possible to use the “drawing” tool in Google Docs to draw directly in the worksheet. See the brief tutorial for using this tool at the bottom of this post.
When you have completed the worksheet, please export the document as a Word or PDF document, and then upload it to the Canvas assignment.
Open the virtual microscope here: http://www.ncbionetwork.org/iet/microscope/
You will also need to make a COPY of the worksheet here. This is what you will submit to Canvas.
“Learn” tab:
- Locate the Eyepiece Lens. Describe the purpose of this part of the microscope.
- Locate the Objective Lens. How do the different objective lenses differ from one another? From the Eyepiece Lens?
- Locate the Coarse Focus. What is the purpose of this knob?
- Now locate the Fine Focus. How does this knob differ from the Coarse Focus? Which of the two should you typically use first?
- Locate the Lens Paper, and Kimwipes. Which of these should you use to clean the microscope lenses? Which should you never use to clean lenses, and why?
- Which part of the microscope can be adjusted to change the amount of light passing through the stage opening?
- Which part of the microscope moves up and down, and forward and back?
“Explore” Link:
- What happened to the brightness of your specimen? Did you need to adjust the lighting? Why do you think this happened?
- Now click on the 100x lens. What happened? Why would you not want to skip lenses on an actual microscope?
- Select “Whitefish Metaphase.” Focus on the slide, and raise the magnification until you are viewing at 40x. Can you locate one of the cells that is in metaphase? Describe what you see.
- Now, select “Whitefish Telophase/Cytokinesis,” and view with the 40x lens. Can you locate one of the cells that is in cytokinesis? Describe what you see.
Focusing the Microscope
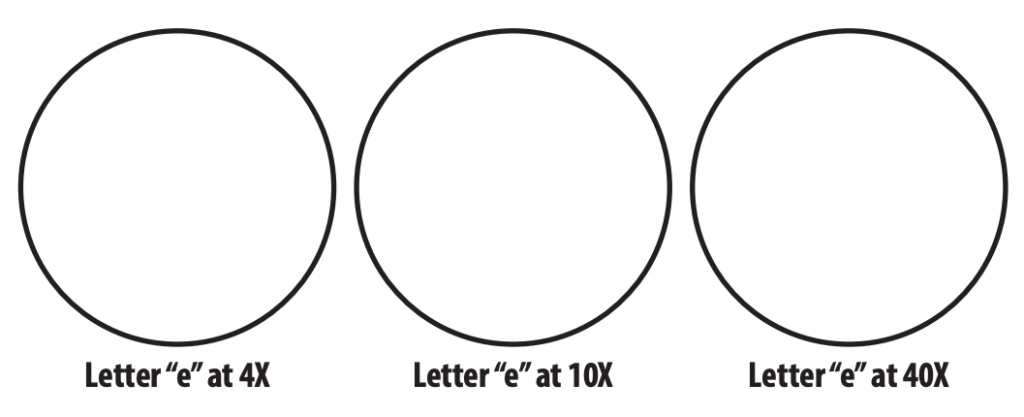
- Obtain the slide with the letter “e,” and focus it under the 4x objective. Draw what you see in the space provided below.
- Focus the 10x lens on the “e.” Draw what you see. Then focus the 40x lens on the “e.” Draw what you see.
Activity: Oil Immersion
- From the Slide Catalog, select “Animals” and then choose any of the Whitefish slides, which show the various stages of cell division.
- Focus and move through the objective lenses as described above.
- Now select 100x. You will be prompted to place a drop of oil on the slide.
- USING ONLY THE FINE FOCUS KNOB, bring the slide into view. Draw what you see.
- When finished, you will need to clean the objective lens USING ONLY LENS PAPER before you will be able to remove the slide.
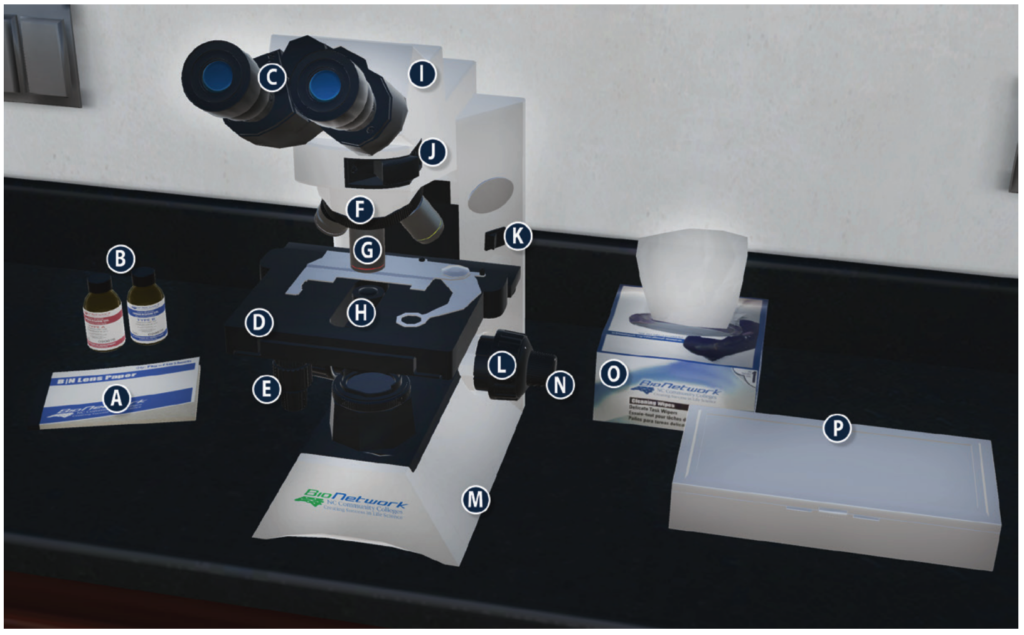
Review the Parts of the Microscope
Complete the chart below by matching the labels with the appropriate parts of the microscope.

Tutorial: “Drawing” tool in Google Docs
- Place your cursor in the worksheet where you would like the sketch to appear
- From the “Insert” menu, select “Drawing,” and then “+ New”
- Draw!
- When your drawing is complete, click “Save and Close.”
- Back in the document, you can re-size your drawing, or move it to another part of the worksheet.

Select the Drawing tool 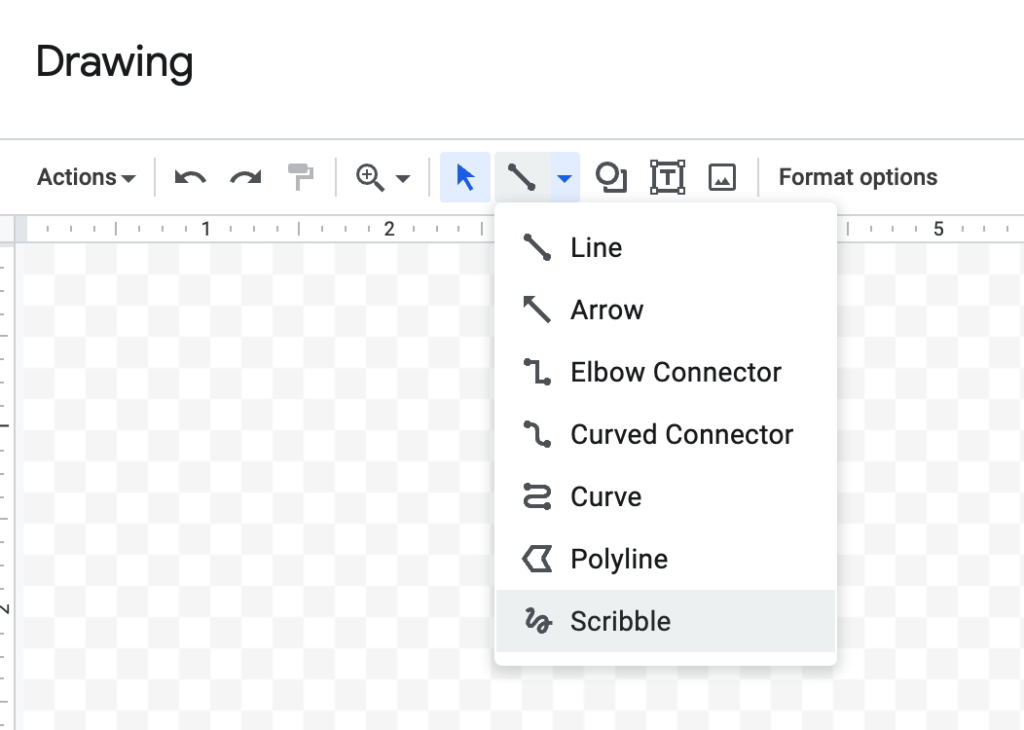
Select the Scribble tool 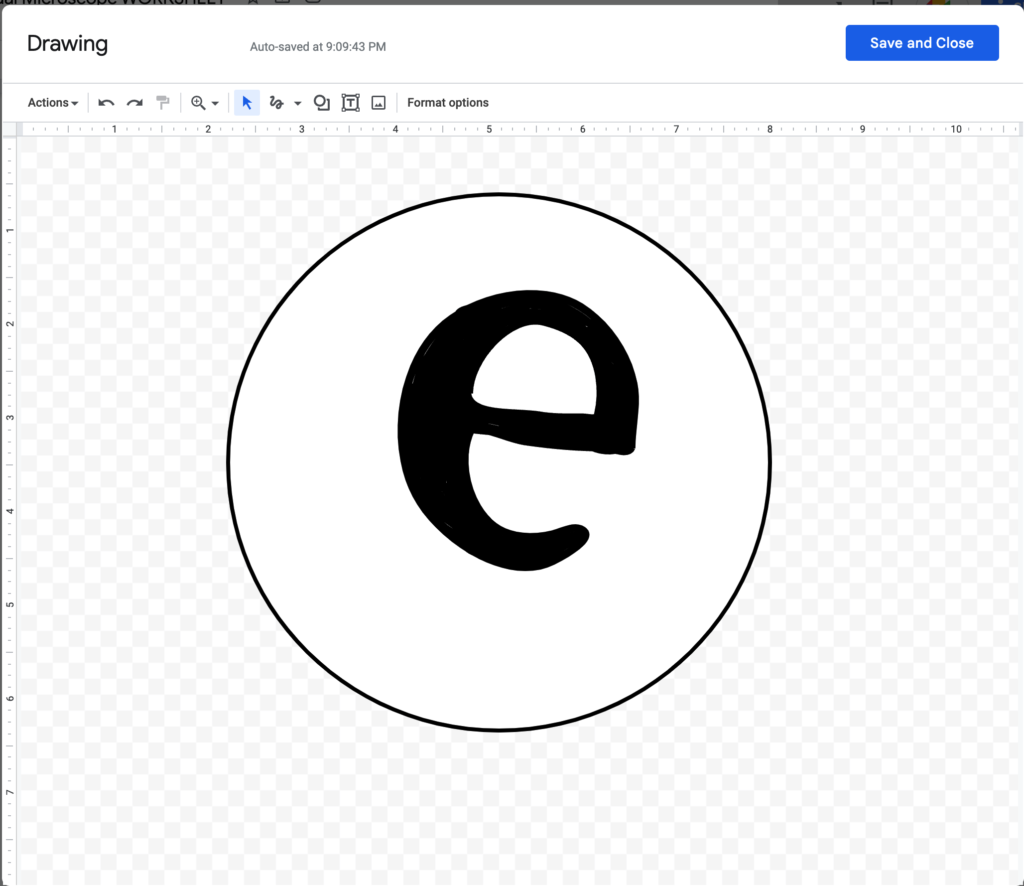
Draw! 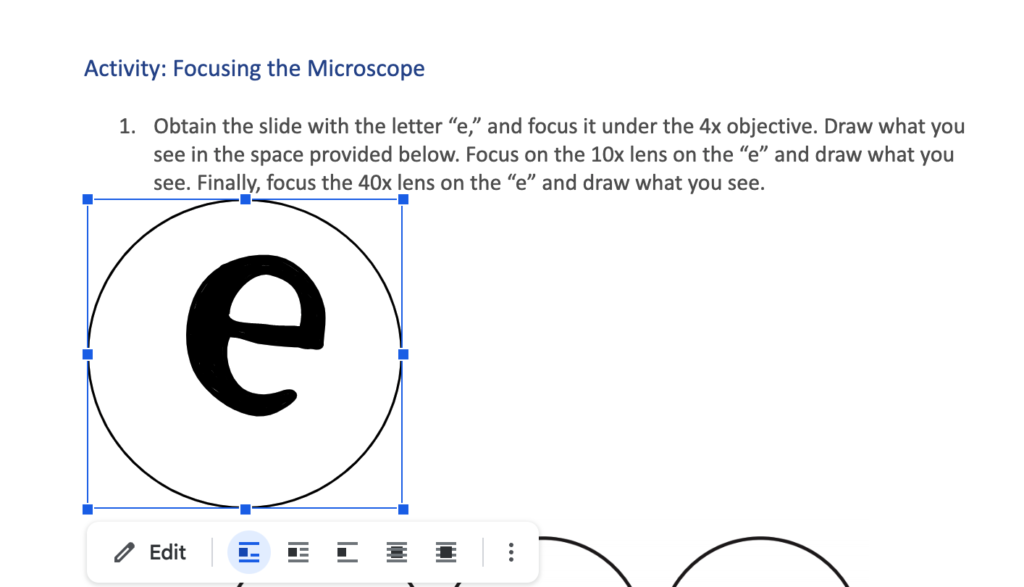
Insert your drawing in the worksheet